For years, I dreamed of a garden room—a quiet escape for a home office and Gym, a cozy den for the family, or just a place to enjoy the garden without the weather getting in the way. After endless research, I landed on the Dunster House Severn Log Cabin. It wasn’t just the look that sold me; it was the incredible list of features that promised a robust building and a (relatively) straightforward build.
Taking on a DIY log cabin project is a big commitment. It’s incredibly rewarding, but it requires patience, preparation, and a good dose of elbow grease. If you’re considering the same journey, here’s my detailed, step-by-step account of how I built my Severn Log Cabin.
Why I Chose the Dunster House Severn: The Key Features
Before the build, the choice. The Severn model came in several sizes; I went for the 5m x 3m. Here’s why its feature set won me over:
- Interlocking Log Walls: Made from 45mm or 34mm thick, slow-grown Spruce, not cheap Pine. This isn’t a flimsy shed; it’s a sturdy, strong, and robust structure that feels like a real room and is built to last.
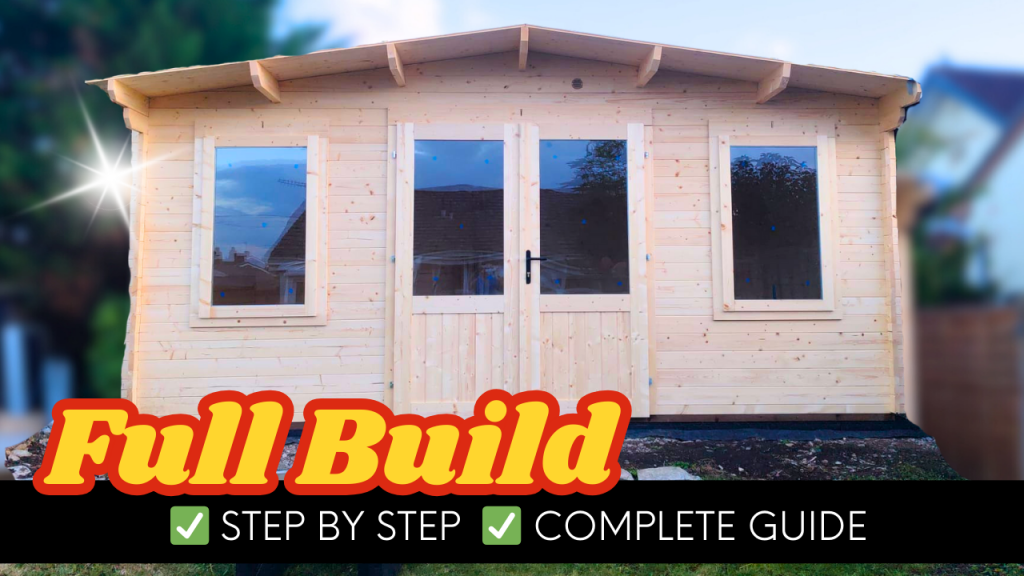
- Pre-Assembled Windows & Doors: A huge time-saver! The 28mm toughened double-glazed uPVC windows and doors came fully assembled with stylish, domestic-style handles, making installation quicker and ensuring a perfect fit.
- Sturdy Construction: The kit includes a 19mm tongue and groove roof and floor, adding immense strength and a solid feel underfoot and overhead.
- Complete Package: All fixings are included at no extra cost—nails, screws, door furniture, everything. They also supply vents for airflow and adjustable storm braces to protect the structure from movement.
- Peace of Mind: The pressure-treated floor bearers come with a 10-year guarantee, and the entire building is backed by Dunster House’s strong reputation.
Phase 1: The Modern Foundation: A Plastic Grid System
You’ll hear this everywhere, and it’s true: a level foundation is non-negotiable. Any imperfection here will haunt you for the entire build. The cabin’s entire structure depends on it.
I had two main options: a concrete base or a paved base. I opted for a paved base as it was more DIY-friendly for me and perfectly suitable for the 10-year guaranteed floor bearers to sit on.
My Process:
- Marking Out: I measured the base to be 10cm larger than the cabin on all sides (so 5.2m x 3.2m). I used pegs and string lines to mark the perimeter, double-checking for perfect squareness using the 3-4-5 triangle method.
- Excavation: I dug out the topsoil to a depth of about 15cm.
- Sub-base: I laid and compacted a 5-8cm layer of MOT Type 1 hardcore. This provides a stable, draining sub-base. I used a spirit level on a long piece of timber to ensure it was even.
- Laying the Grids: I laid the interlocking plastic grids directly onto the compacted sub-base. They slot together easily to form a flat, continuous grid that fits the exact footprint of my cabin.
- Weed Membrane: Before adding the sub-base, I laid a heavy-duty woven weed membrane across the entire excavated area. This allows water to drain through but prevents weeds from growing up into the sub-base and eventually through your gravel foundation.
Phase 2: Laying the Floor and the First Logs
With a perfect base, the fun could begin! The delivery was impressive—several large, well-labelled packs. I carefully checked all the components against the inventory sheet.
- Floor Bearers: I positioned the pressure-treated floor bearers (with their 10-year guarantee) onto the DPC as per the plan. These are crucial as they create a void, keeping the main floor timbers dry and ventilated.
- Then onto the smaller long logs, and work your way up.
Phase 3: Rising Walls – The Interlocking Log System
This is the most satisfying part of the build. The interlocking log walls are ingeniously simple.
- First Course: The first layer of logs slots directly into the grooves on the perimeter of the floor. I started at one corner, ensuring it was perfectly square, and worked my way around.
- Building Up: Each subsequent log layer fits onto the one below via its tongue-and-groove profile. I used a rubber mallet to gently tap them into place, ensuring a tight, secure fit. No nails are needed for the main wall structure—it’s all held together by its own design and the sheer weight of the timber. This is where the quality of the slow-grown Spruce really shows; it’s dense, straight, and doesn’t splinter.
- Checking and Re-checking: After every couple of courses, I used my spirit level to check the walls were perfectly vertical (plumb) and my square to ensure the corners were at 90 degrees. It’s easy to correct a small misalignment early on!
Phase 4: Fitting the Pre-Assembled Windows and Doors
A standout feature! When I reached the designated courses, I simply slotted the pre-assembled windows into their openings. They are designed to fit snugly within the log grooves. I followed the instructions to fix them securely from the inside. The 28mm toughened double glazing and quality uPVC frames felt premium and secure immediately.
The double doors went in using the same principle. Attaching the stylish, domestic-style handles was the final touch that made it look like a proper garden room.
Phase 5: Constructing the Roof
- Gable Ends: I assembled and erected the gable end triangles, fixing them securely to the front and back walls.
- Roof Beams: I placed the roof beams (purlins) across the structure, which would support the 19mm T&G roof boards.
- Fixing the Roof Boards: Just like the floor, I fixed the tongue and groove boards across the purlins. Laying this layer was a two-person job, but seeing the solid roof plane come together was amazing.
- DPM Sheet added
- Felt : The kit included high-quality felt. I started from the bottom edge and worked upwards, overlapping each row and nailing them securely as per the instructions. The result is a weatherproof and great-looking roof.
Phase 6: Final Touches for Longevity
- Storm Braces: I installed the adjustable storm braces on the inside of the long walls. These are a brilliant feature, allowing you to tweak them over time to ensure the cabin remains square and stable, combating any potential movement from ground settlement.
- Vents: I fitted the supplied vents near the base of the cabin on opposite sides. This is critical for airflow and to minimise moisture buildup, protecting your investment from damp and rot.
- Treatment: While the timber is NOT pre-treated, I gave the entire cabin two coats of a high-quality, UV-protective wood preserver to enhance its lifespan and maintain its colour.
My Verdict and Top Tips
Building the Dunster House Severn Log Cabin was one of the most satisfying projects I’ve ever undertaken. The quality of the materials is exceptional, and the fact that all fixings are included removes so much stress.
My Top Tips for You:
- Take Your Time: Rushing the foundation or the first few courses will cause problems. A day spent on the base saves two days fixing errors later.
- Get a Helper: While some of it is possible solo, having a second person for lifting walls and the roof is invaluable and much safer.
- Organise Your Parts: Unpack and group the logs by size and wall. It makes finding the next piece much easier.
- Don’t Force It: If something isn’t fitting, stop. You’ve probably misaligned a log a few courses down. The interlocking system should work smoothly.
- Enjoy It! It’s a fantastic process. Stand back every now and then and admire your work.
The finished cabin is everything I hoped for and more. It’s a solid, quiet, and beautiful space that I know, thanks to its quality design and features, will stand the test of time. If you’re on the fence, I couldn’t recommend the Dunster House Severn more highly.
Disclaimer: This blog post is based on my personal experience. Always follow the official installation guide provided by Dunster House, as design and specifications can change. Check local planning regulations before building.